
To start off I prepped my skin with Mac's prep and prime, I find this works great as a base for my foundation, as moisturiser is sometimes too flashy on photos for nights out.
http://www.maccosmetics.co.uk/product/160/967/Products/Face/Primer/Prep-Prime-Skin/index.tmpl
After I've prepped my skin I then used Mac studio fix fluid in the shade NC15, this is the perfect match for my skin, and Is a medium coverage but is build able by applying numerous layers.
Then I went on to use my Rimmel Stay Matte pressed powder in the shade translucent, and I applied this by using a real techniques buffing brush, as I find it easier to apply to my t-zone areas, and I didn't want a matte coverage over my whole face.
Next thing was bronzer, I've recently ran out of my Nars Laguna bronzer and I'm holding out to purchase it at the airport so I used a MUA mosaic bronzer instead, I'm not a huge fan but has to work with the tools I had. So I swirled my real techniques contour brush around the mosaic bronzer and applied it to my cheek bones and upper cheeks.
Sticking with the highlight and contour theme I then used my beloved Benefit Sun Beam highlighter underneath my brow bone, and on the tops of my cheek were I blended it out with my finger towards my hair line.
I then went on to fill in my brows, because my brows are naturally blonde I tint them to a medium brown but always find that filling them in defines them more, so I took my MUA Pro Brow Palette and used the darkest shade, starting from the middle of the brow towards the end and then from the front to the middle, using the least amount of powder at the front.
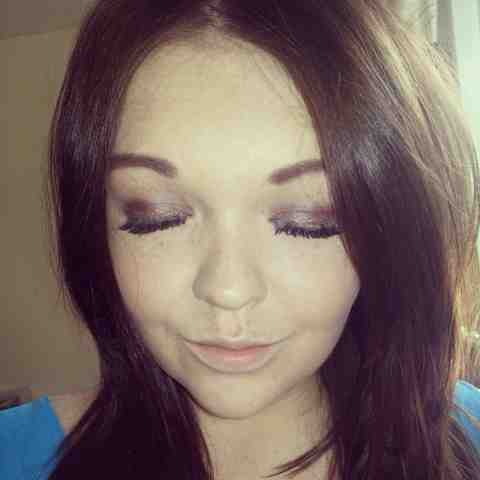
For the main thing, those golden eyes I started by applying Mac's paint pot in the shade indianwood all over the lid with my ring finger, and then took the real techniques eyeshadow brush and the colour wrapped up from the Sleek oh so special! Palette and applied it to the whole of the lid, lightly so that the paint pot was still able to be seen but only slightly. From the same palette I then took the shade gift basket and applied it to the outer of my eye, blending with my Mac 217 towards the middle of the eye to create a small smoked effect, I also took this colour under the first half of my eye and blended it out to create a soft effect, I also then took the colour noir from the sleek palette and placed that under my eye starting from the outer corner and meeting gift basket at the centre of my eye.
To finish my look I then applied a pair of Eylure eyelashes number 101 my all time favourite false lashes to give my eyes that extra pop.
The sleek palette that created this look has been reviewed on my blog previously and can be found here.


No comments:
Post a Comment